|
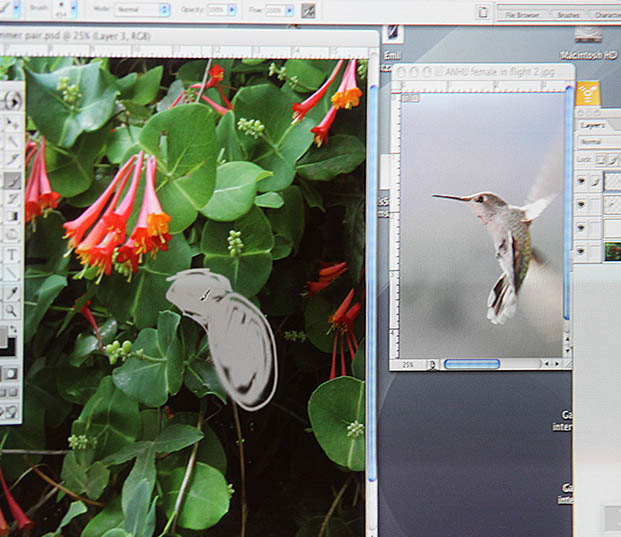
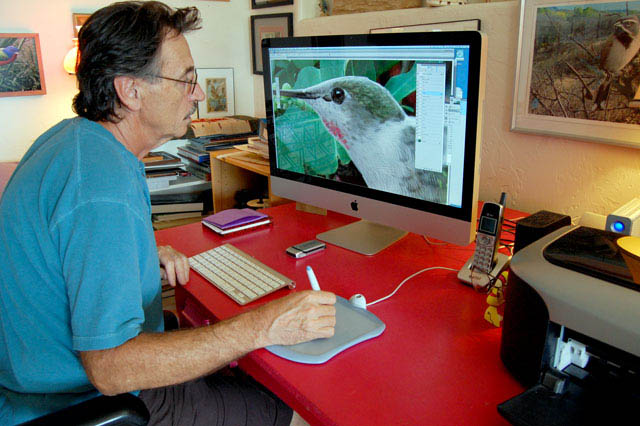
I do most of my art work on the computer. I use Photoshop CS4 and a Wacom graphics pad. In the first photo I am using my Mac computer and working on details of a hummingbird. You can see that working this way allows me to zoom into the very finest details.
I begin the process by bring up a photo of a bird’s habitat that I have taken with my digital camera (Nikon D-40 or Canon G3). This photo becomes the background and bottom layer of the drawing. Working in photo shop, I create an additional layer above the background layer and begin to sketch into that layer using the stylus and graphic pad.
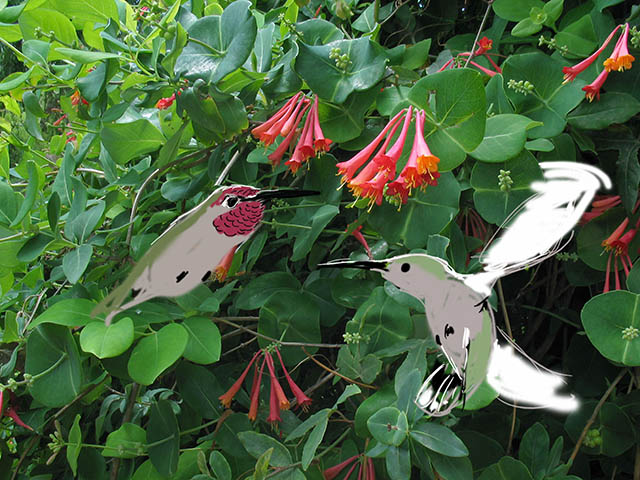
I find it best to work in layers at the very beginning. I create a new layer for each major element. In this image the blur of the wings is created using several layers. Each layer can be adjusted as to its transparency at any time. You can experiment with how much blur is added to the wings.
The work is very rough at first. I work primarily on the pose of the bird trying to integrate it into the elements of the photo. I often use reference photos which I took of the bird to help me create the pose. I will keep changing the pose right until the very end of the drawing.
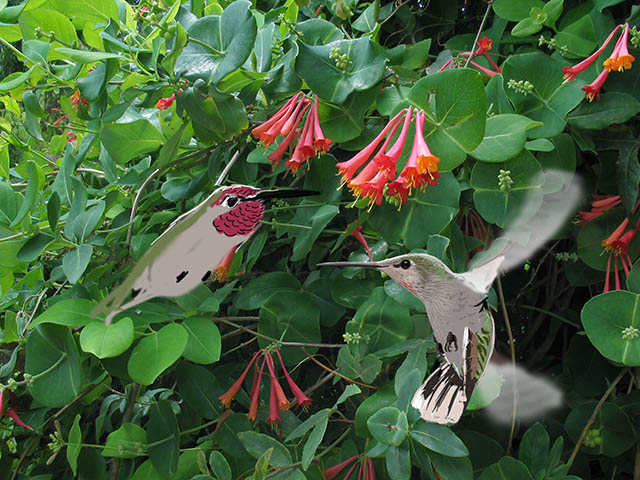
As I begin to work on the finish texture of the bird I try to keep in mind the light as it appears in the background photo and work to keep the light on the bird consistent with the background photo.
I like to work on the texture of the bird. I try to capture the different textures like the wet shinny eye, the plastic smoothness of the beak and the criss-crossing overlapping surface of the feathers
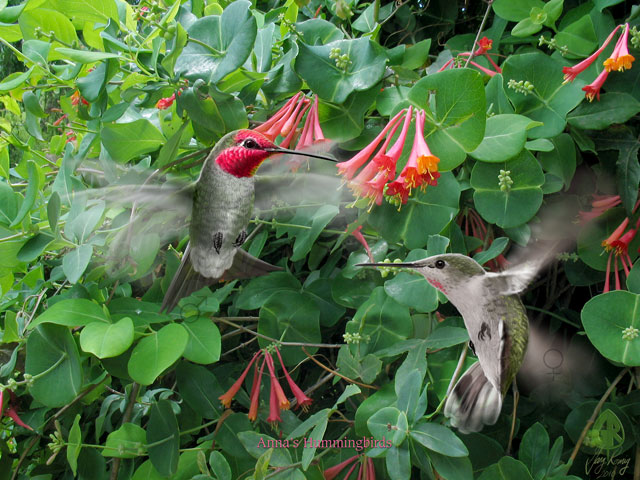
The sequence of photos on the left and down the page show a progression of completion to the final image. The image was complete after 2 months off and on work. There is a lot of editing and re-editing. That is what I like about working in Photoshop. If I feel I have to make a major change in the image I have no fear of doing so. |